Kitchen Design Mistakes to Avoid Before You Renovate
Kitchen mistakes often become apparent only when cooking and cleaning begin.
Interior designer Reynard Lowell draws on client projects and viewer regrets to explain how thoughtful kitchen planning can prevent costly frustrations.
His advice focuses on creating a kitchen that works for everyday life.
1. Check Appliance Placement and Clearance
Lowell recommends placing the dishwasher beside the sink for easier loading, citing NKBA guidance that they should be no more than 36 inches apart.
Lowell recommends placing the dishwasher beside the sink for easier loading, citing NKBA guidance that they should be no more than 36 inches apart.
Its door should open fully, and a pull-out bin should remain accessible while the dishwasher is open.
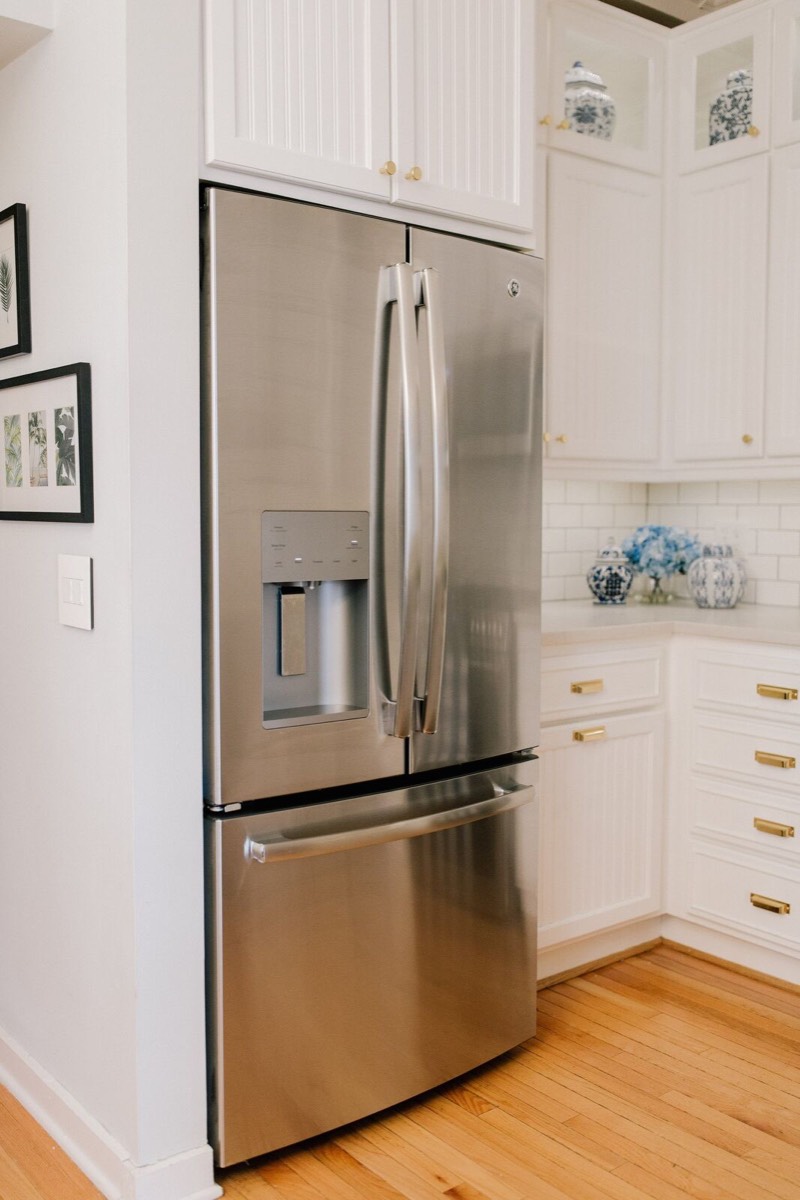
Choose the refrigerator before finalizing cabinetry. Check its full depth, including doors, handles, and space for the plug.
Tip
Counter-depth or integrated models can reduce how far it projects into the walkway.
Leave counter space on both sides of the stove, and avoid positioning it immediately beside a doorway where passing traffic could disrupt cooking.
2. Choose a Practical Sink and Tap
The sink should fit the largest pan or wok used regularly. One large bowl may be more useful than two smaller ones.
Select the tap alongside it, checking clearance for pots, handle movement, and inward-opening windows.
Slightly rounded internal sink corners are easier to clean, while a sloping base and pull-out spray help direct food and water toward the drain.
3. Allow Room to Move and Sit
Keep drink-making supplies together near the dining or living area, and store glasses near the refrigerator if it supplies drinking water.
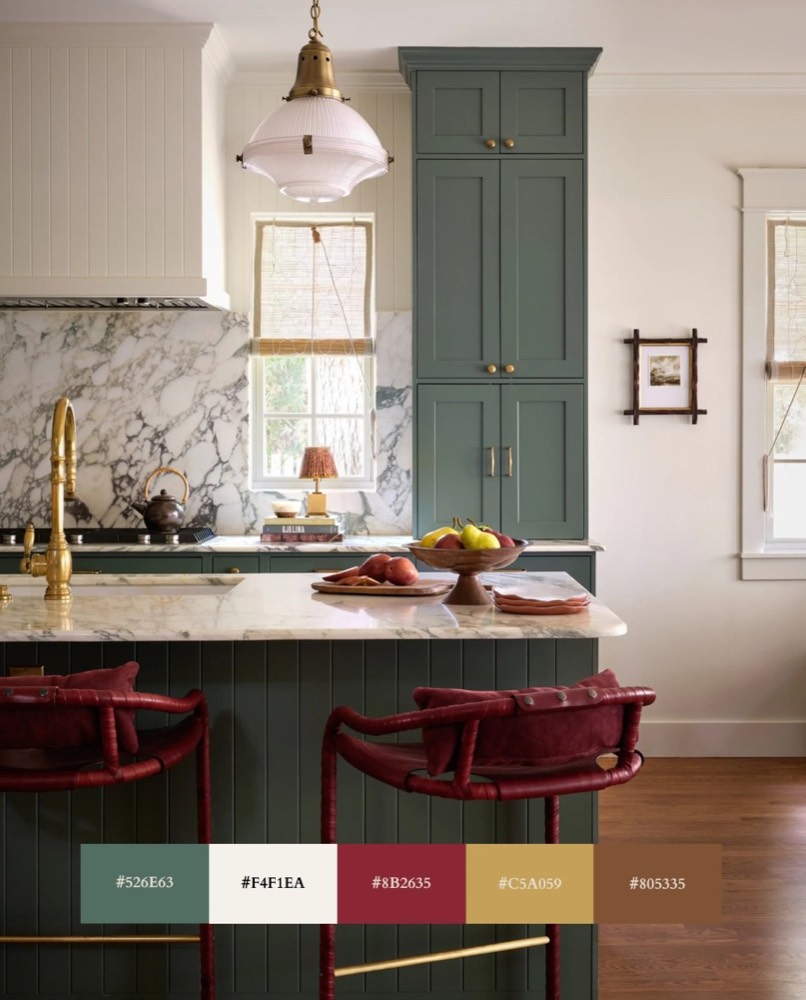
If an island is in your kitchen design plan, determine how much room you'll need around it.
Lowell cites NKBA clearances of at least 42 inches for one cook and 48 inches for multiple cooks.
A narrow workbench or trolley may suit smaller kitchens better than an island.
For a 36-inch-high counter, allow at least 15 inches of clear knee depth. Position storage and any required supports so they don't interfere with seating.
4. Match Appliances to Actual Routines
A larger dishwasher or two dishwashers may serve a busy family better than a second oven.
A smaller range might provide valuable counter space and storage for a household that rarely cooks.
Understand what larger appliances require you to give up rather than assuming bigger is automatically better.
5. Understand Material Maintenance
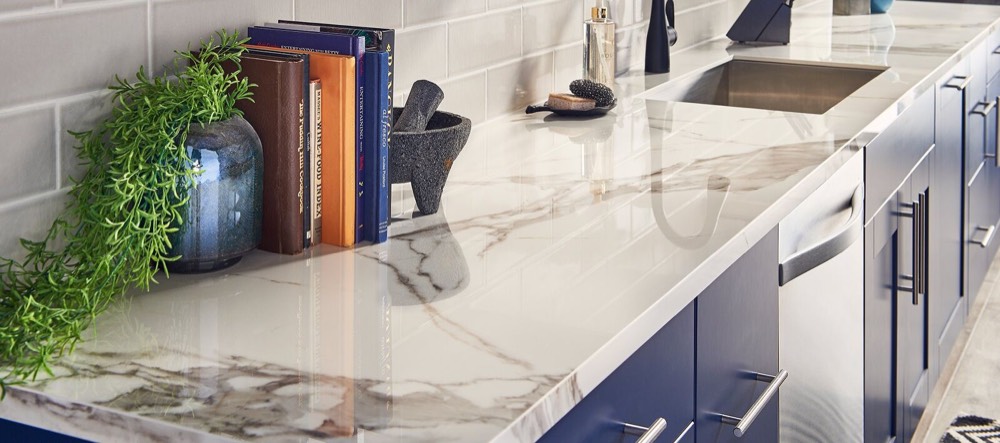
Marble can develop etching from acidic foods, even when sealed. Lowell suggests considering whether its worn appearance will remain enjoyable.
He identifies genuine quartzite as a natural stone option that resists scratching and everyday kitchen acids.
Marble-look porcelain offers another choice, although heavy pots can chip its edges.
Dark and glossy finishes often highlight crumbs, water marks, and fingerprints.
Mid-tone timber and varied surfaces can be more forgiving. Also, test actual cabinet samples before deciding.
Keep in Mind
No material is perfect. The key is choosing trade-offs you’re comfortable living with.
6. Design for Easier Cleaning
Rough splashbacks behind the stove trap grease.
Smoother surfaces are easier to wipe, while decorative shelving positioned away from cooking collects less grease.
Lowell favors washable low-sheen or eggshell wall paint. Ordinary flat paint can develop shiny patches when rubbed during cleaning.
Around the sink, exposed or freshly cut cabinet edges should be sealed.
Check laminate joints and edge banding, and ask whether damaged panels could be replaced separately.
Lowell suggests that if you're having something custom-painted, keep the paint color and finish details as a starting point for future repairs.
7. Make Storage Fit Its Contents
Prioritize lower drawers for frequently used cookware and dishes.
Choose depths around their contents, measure larger items, and consider upright dividers for baking trays.
Avoid excessively wide drawers that interrupt neighboring work positions. Shallower pantry shelves, pull-outs, and adjustable heights improve access.
Check that upper cabinet doors don't obstruct counters and that handles will not catch clothing.
Removing upper cabinets works only if their contents fit comfortably elsewhere.
Ceiling-height cabinetry needs sufficient door clearance.
A fitted filler, fascia, or crown molding can neatly close the gap above the cabinets without extending the cabinet doors all the way to the ceiling.
8. Plan Lighting, Power, and Ventilation
Position task lighting over work surfaces to prevent shadows.
Shaded or diffused pendants reduce glare, while separate controls allow brighter preparation lighting and softer dining light.
Place enough outlets where appliances will be used, including the island when needed.
Check rangehood depth as well as width.
Lowell prefers outdoor ventilation where possible and recommends planning the duct route before cabinetry is finalized.
9. Think Ahead About Repairs and Finishes
Before choosing wall-mounted taps, ask how concealed connections would be accessed if they leak.
Flooring beneath cabinets can accommodate future layout changes, but some floating floors require a different installation sequence.
Confirm with the supplier and keep spare flooring and tiles.
Even staged renovations need a complete plan. Assess cabinets, countertops, splashbacks, flooring, and paint together in daylight and artificial light.
Approve natural stone as a whole slab rather than relying on a small sample.
Final Thoughts
Lowell’s central message is to picture ordinary life in the kitchen before committing.
Considering daily tasks and future maintenance early can help create a room that remains comfortable and practical long after installation.