How to Turn an IKEA KALLAX Into a Woven-Door Cabinet
The IKEA KALLAX is practical and affordable, but its chunky, boxy design can feel a little plain.
With paint, simple wood frames, and inexpensive burlap, however, you can transform it into a cabinet that looks much more like a woven cane console.
Real cane webbing can be expensive and difficult to find, so this project uses burlap instead. Its open weave gives a surprisingly similar effect to radio-weave cane, while keeping the makeover affordable.
Materials and tools
- IKEA KALLAX unit
- 2-inch-wide x 1-inch-thick pine planks
- Burlap
- Shellac-based primer suitable for laminate
- Water-based primer for raw wood
- Paint
- Paintbrushes or rollers
- Flat 2-inch corner braces
- Screws
- Hinges
- Cabinet magnets
- Cabinet pulls
- Staple gun and staples
- Two pieces of scrap 4x4 lumber
- Measuring tape
- Screwdriver or drill
- Saw, or have the wood cut at the hardware store
- Wood glue, optional
1. Measure and cut the door frames
Measure the openings carefully before buying or cutting your wood. For this particular KALLAX, the doors required eight pieces measuring 14 3/8 inches and eight pieces measuring 26 inches.
The frames were made from pine planks measuring 2 inches wide by 1 inch thick. If you don't have a saw, most hardware stores can cut the pieces for you.
The frames were made from pine planks measuring 2 inches wide by 1 inch thick. If you don't have a saw, most hardware stores can cut the pieces for you.
Always base your cuts on your own unit rather than assuming these measurements will fit every KALLAX.
2. Prime and paint the KALLAX
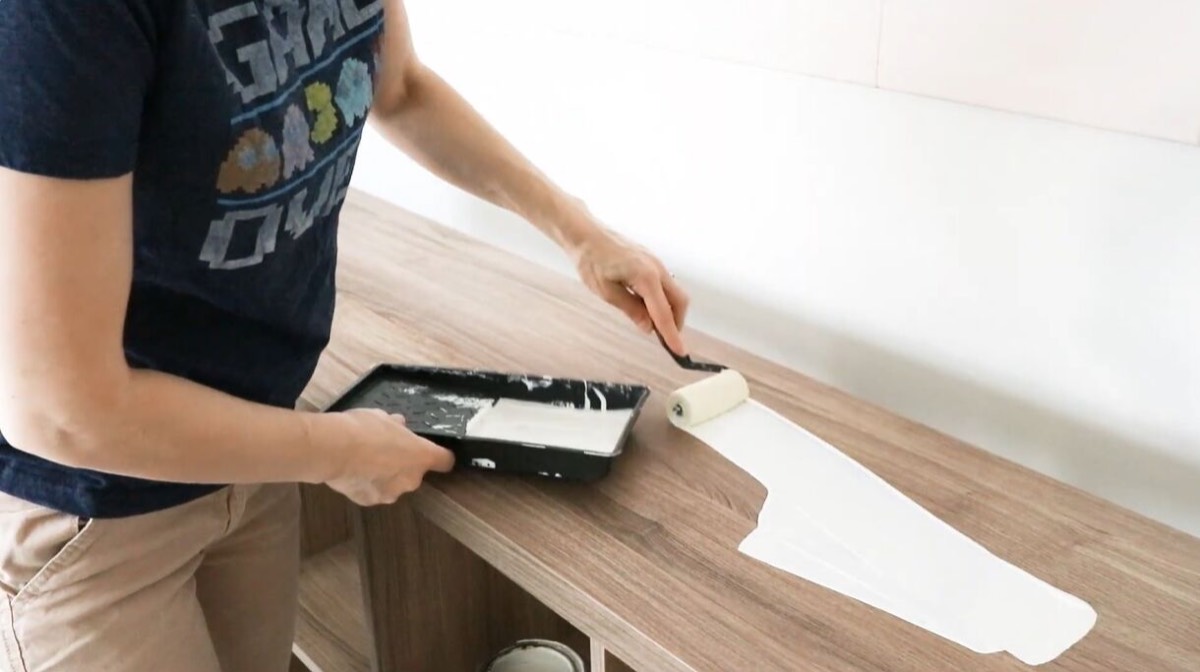
Laminate furniture needs the right preparation if you want the paint to adhere properly. Apply a shellac-based primer designed to bond to slick surfaces. With a suitable primer, you may be able to skip sanding altogether.
You can disassemble the KALLAX before painting for easier access, or paint it while assembled if you prefer.
Once the primer has dried, apply your chosen paint and allow it to dry completely.
3. Paint the wood for the doors
Prime and paint the pine pieces before assembling the doors. Because these are raw, untreated wood rather than laminate, a regular water-based primer works well.
Let everything dry thoroughly before constructing the frames.
4. Assemble the door frames
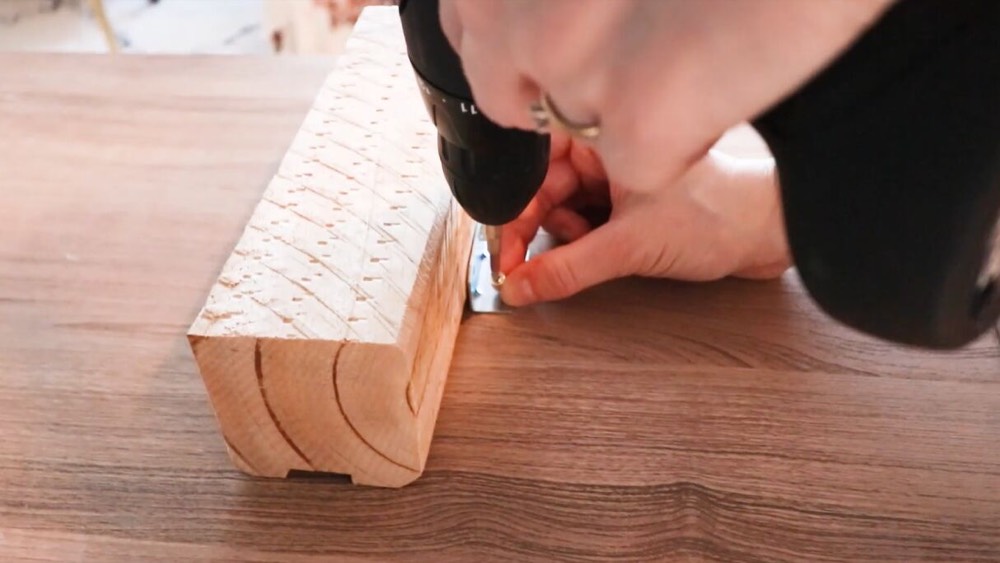
Arrange four pieces of pine into a rectangular frame for each door. Secure the corners using flat 2-inch corner braces and screws.
Wood glue can also be added at the joints for extra reinforcement, although the original project relied on the braces alone.
Repeat until you have four completed door frames.
5. Add the burlap panels
Cut one piece of burlap large enough to cover the opening at the back of each door frame.
Pull the fabric taut so the weave sits neatly across the opening, then use a staple gun to secure it to the back of the wood. Continue stapling around the perimeter until the burlap is firmly attached.
From the front, the exposed weave creates the look of woven cane without the expense of actual cane webbing.
6. Raise the KALLAX off the floor
One of the problems with the KALLAX is its heavy, boxy appearance. Raising it slightly can make the entire piece feel lighter.
Use two pieces of scrap 4x4 lumber to create feet underneath the unit. Attach them to the bottom with corner braces, positioning them slightly inward so they're less visible from the front. This creates an almost floating appearance.
7. Attach the doors
The original plan was to have four conventionally hinged doors opening sideways, but there wasn't enough clearance between them.
The solution was to join the doors into two pairs and have each pair open downward instead. This allowed the hinges to be installed along the bottom while still fitting all four doors across the front of the KALLAX.
If you're recreating the project, check your hinge placement and door clearance before permanently attaching everything. You may be able to use conventional side-opening doors if you leave sufficient gaps when calculating the frame dimensions.
8. Install cabinet magnets
Add a cabinet magnet to each pair of doors to hold them securely in place when they're closed.
Test the doors several times and make any necessary adjustments to the hinges or magnets before moving on to the hardware.
9. Add the cabinet pulls
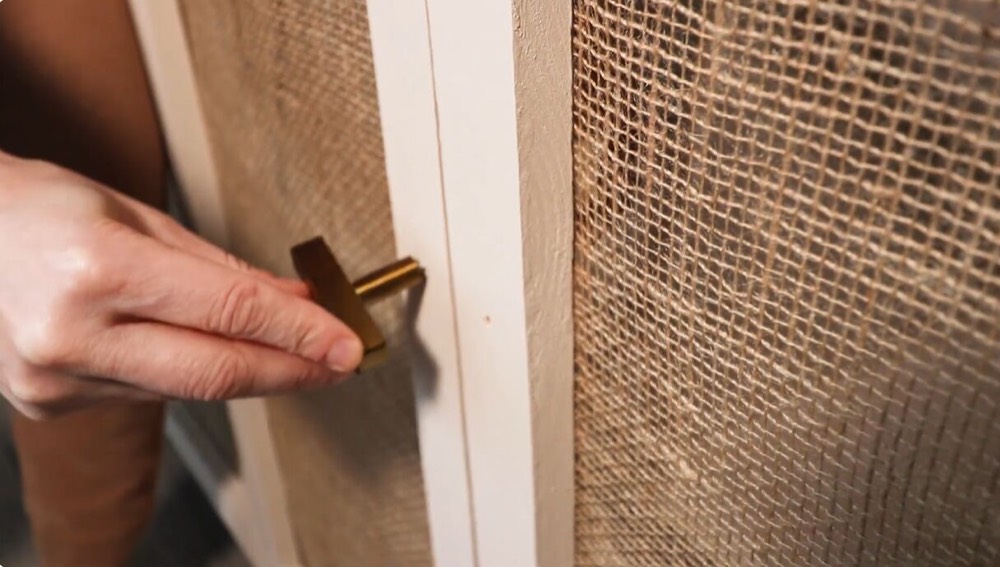
Finish the makeover by installing cabinet pulls on the fronts of the doors. Measure their positions carefully so the hardware is aligned across the cabinet.
The finished KALLAX makeover
What started as a basic laminate cube unit now looks like a painted console with custom woven doors and a lighter, elevated profile.
The makeover cost approximately $75 CAD, excluding the original KALLAX and supplies already on hand, such as primer, paint, and brushes.
Burlap also doesn't have to be permanent. Because it's simply stapled to the backs of the frames, you could replace it with real cane webbing later without rebuilding the doors.